

HOW TO PROPERLY DRAIN A WATER HEATER STEP-BY-STEP
This step-by-step guide to draining a water heater will prepare the adept homeowner to drain their own water heater. The reason for draining a water heater is to remove additional sediment. This sediment accumulates as the water is being used in a variety of ways. If this sediment is not removed it can slow the efficiency of the water heater, force it to work harder, and can clog the drain . By removing it annually you increase the life of the water heater. This is a process that is cheap, will take less than a day, and does not required a lot of skills to accomplish.
Materials Needed
- Hose
- Bucket (optional)
Step 1.Gather the Equipment
There are only two pieces of equipment to consider in this job. The essential requirement is a hose. If you do not have a drain or sink handy to the water heater , you will also need a bucket to place the dirty water somewhere.
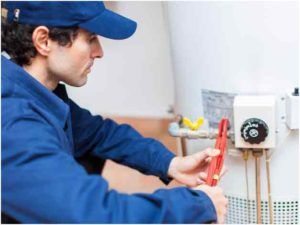
Step 2. Turn off the Water
There should be a water heater valve on the top of the water heater that connects to the cold water source. This needs to be turned off so that no additional water enters the heater.
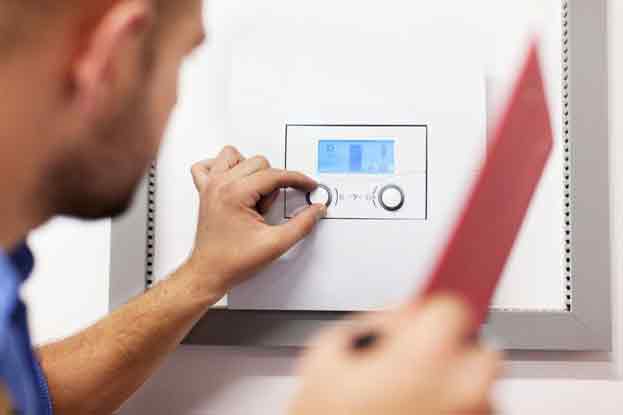
Step 3. Turn off the Water Heater
This step will look different depending on if you have a gas or electric water heater. For electric water heaters , the turn off switch is in the circuit breaker. It is essential to make sure the electric water heater is turned off for the entirety of the draining because the coils can burn if there are not immersed in water. G as water heater need to have the thermostat turned to the pilot setting. You will need to wait 24 hours after turning off the water heather prior to draining the water.
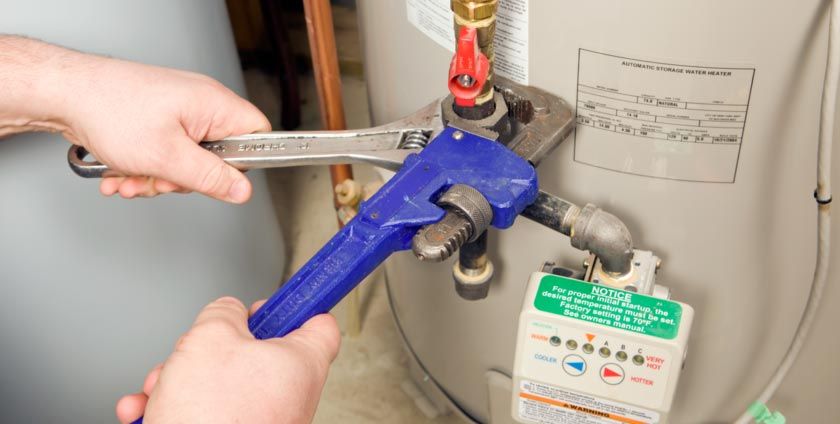
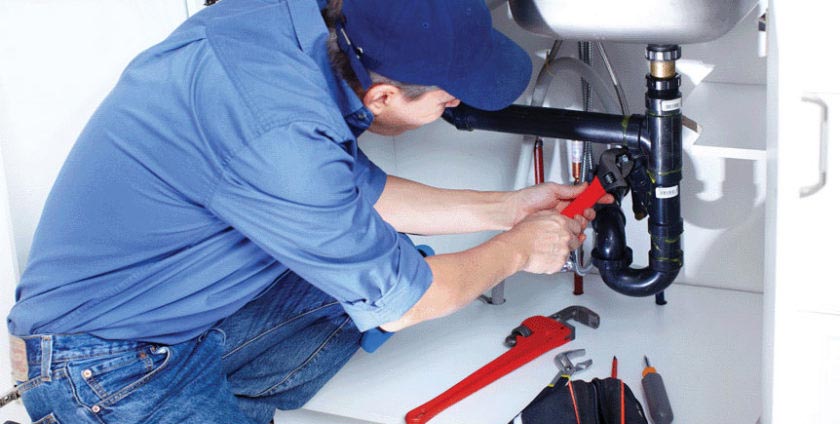
Step 4. Connecting the Hose to the Drain Valve
Somewhere near the bottom of the tank there should be a drain valve . You will need to take your hose and connect it to the valve. Make sure that this is tightly secured so that there are no leaks.
Step 5. Release Water Pressure
To help the water drain faster, you should turn on a spicket directly above the water heater. This will allow the water to flow out faster.
Step 6. Open the Drain Valve
You are now ready to drain the water from the tank. You will open the valve and allow the water to run out of the tank. Make sure to monitor the drain or the bucket so that no water overflows. Once the water tank is empty, you will perform a couple of cold water flushes in order to ensure that the sediment is completely out of the tank. This step is complete once water runs clear from the tank.
Step 7. Close Drain Valve and Refill Tank
The job is now complete. You will want to remove the hose, close the drain water heater drain valve , and turn the water supply back on. You will know it is working when the spicket that was turned on earlier becomes cold. Turn the hot water valve back on.
Your hot water heater tank should now be clear for another year. Perform this simple procedure once a year and extend the life of your tank. Be careful not to burn yourself throughout this process as that is the highest risk of injury.
Author Bio:
Leo is the owner of family owned and operated plumbing company Rooters On Time. Located in Northridge CA, we provide plumbing services around the great Los Angeles area.
 972-820-0565
 ken@carrolltonplumbingservice.com


